
Unlock Productive Workshops: 27 Room Setup Strategies That Actually Work
Are you planning a workshop? The right workshop room setup can make or break the entire event. It's not just about tables and chairs; it's about creating an environment that fosters collaboration, engagement, and learning. A well-designed space can significantly impact participant interaction and overall workshop success. Think about it: a cramped, poorly lit room can stifle creativity, while an open, well-organized space can inspire innovation.
In this comprehensive guide, we'll explore 27 proven workshop room setup strategies to help you create the ideal learning environment. From classic layouts to innovative approaches, we'll cover everything you need to know to design a space that meets your specific workshop goals. Let's dive in and transform your next workshop into a resounding success!
Key Takeaways
- The right workshop room setup is crucial for engagement and learning.
- Different layouts cater to various workshop styles and objectives.
- Careful consideration of space, lighting, and technology is essential.
Why Your Workshop Room Setup Matters
Why obsess over workshop room setup? Because it directly impacts how your participants learn and interact. A thoughtfully arranged room can boost engagement, encourage collaboration, and improve information retention. Conversely, a poorly planned space can lead to distractions, discomfort, and disinterest. Think about how the physical environment affects your own focus and learning.
Consider the flow of movement, the visibility of the presenter, and the accessibility of resources. These factors contribute to the overall learning experience. When participants feel comfortable and supported by their surroundings, they're more likely to actively participate and absorb the workshop content. Don't underestimate the power of a well-designed learning space. It's an investment in the success of your workshop.
Understanding Different Workshop Objectives
Before diving into specific layout strategies, it's crucial to understand your workshop's objectives. What do you want participants to achieve? Are you aiming for brainstorming, team building, skill development, or problem-solving? The answer will dictate the most effective workshop room setup. For example, a highly interactive brainstorming session requires a different setup than a lecture-style presentation.
Consider the size of your group, the type of activities you'll be conducting, and the level of interaction you want to encourage. A smaller group might benefit from a circular arrangement that promotes equal participation. A larger group might require a more structured layout with clear sightlines to the presenter. Aligning your room setup with your workshop objectives is the first step towards creating a successful learning environment.
27 Proven Workshop Room Setup Strategies
Ready to explore some practical layout ideas? Here are 27 workshop room setup strategies, each designed to cater to specific workshop needs:
- 1Classroom Style: Rows of tables and chairs facing the presenter. Ideal for lectures and presentations.
- 2Theater Style: Chairs only, no tables. Maximizes seating capacity for presentations.
- 3U-Shape: Tables arranged in a U-shape, open at one end. Facilitates discussion and interaction.
- 4Hollow Square: Tables arranged in a square with an open center. Encourages group discussions and presentations.
- 5Boardroom Style: A single large table. Suitable for small group discussions and decision-making.
- 6Herringbone/Chevron: Tables angled towards the presenter. Improves sightlines and encourages engagement.
- 7Breakout Groups: Smaller tables scattered around the room. Ideal for group work and discussions.
- 8Conference Style: Similar to boardroom, but with more space. Suitable for larger meetings.
- 9Reception Style: High-top tables and limited seating. Encourages networking and mingling.
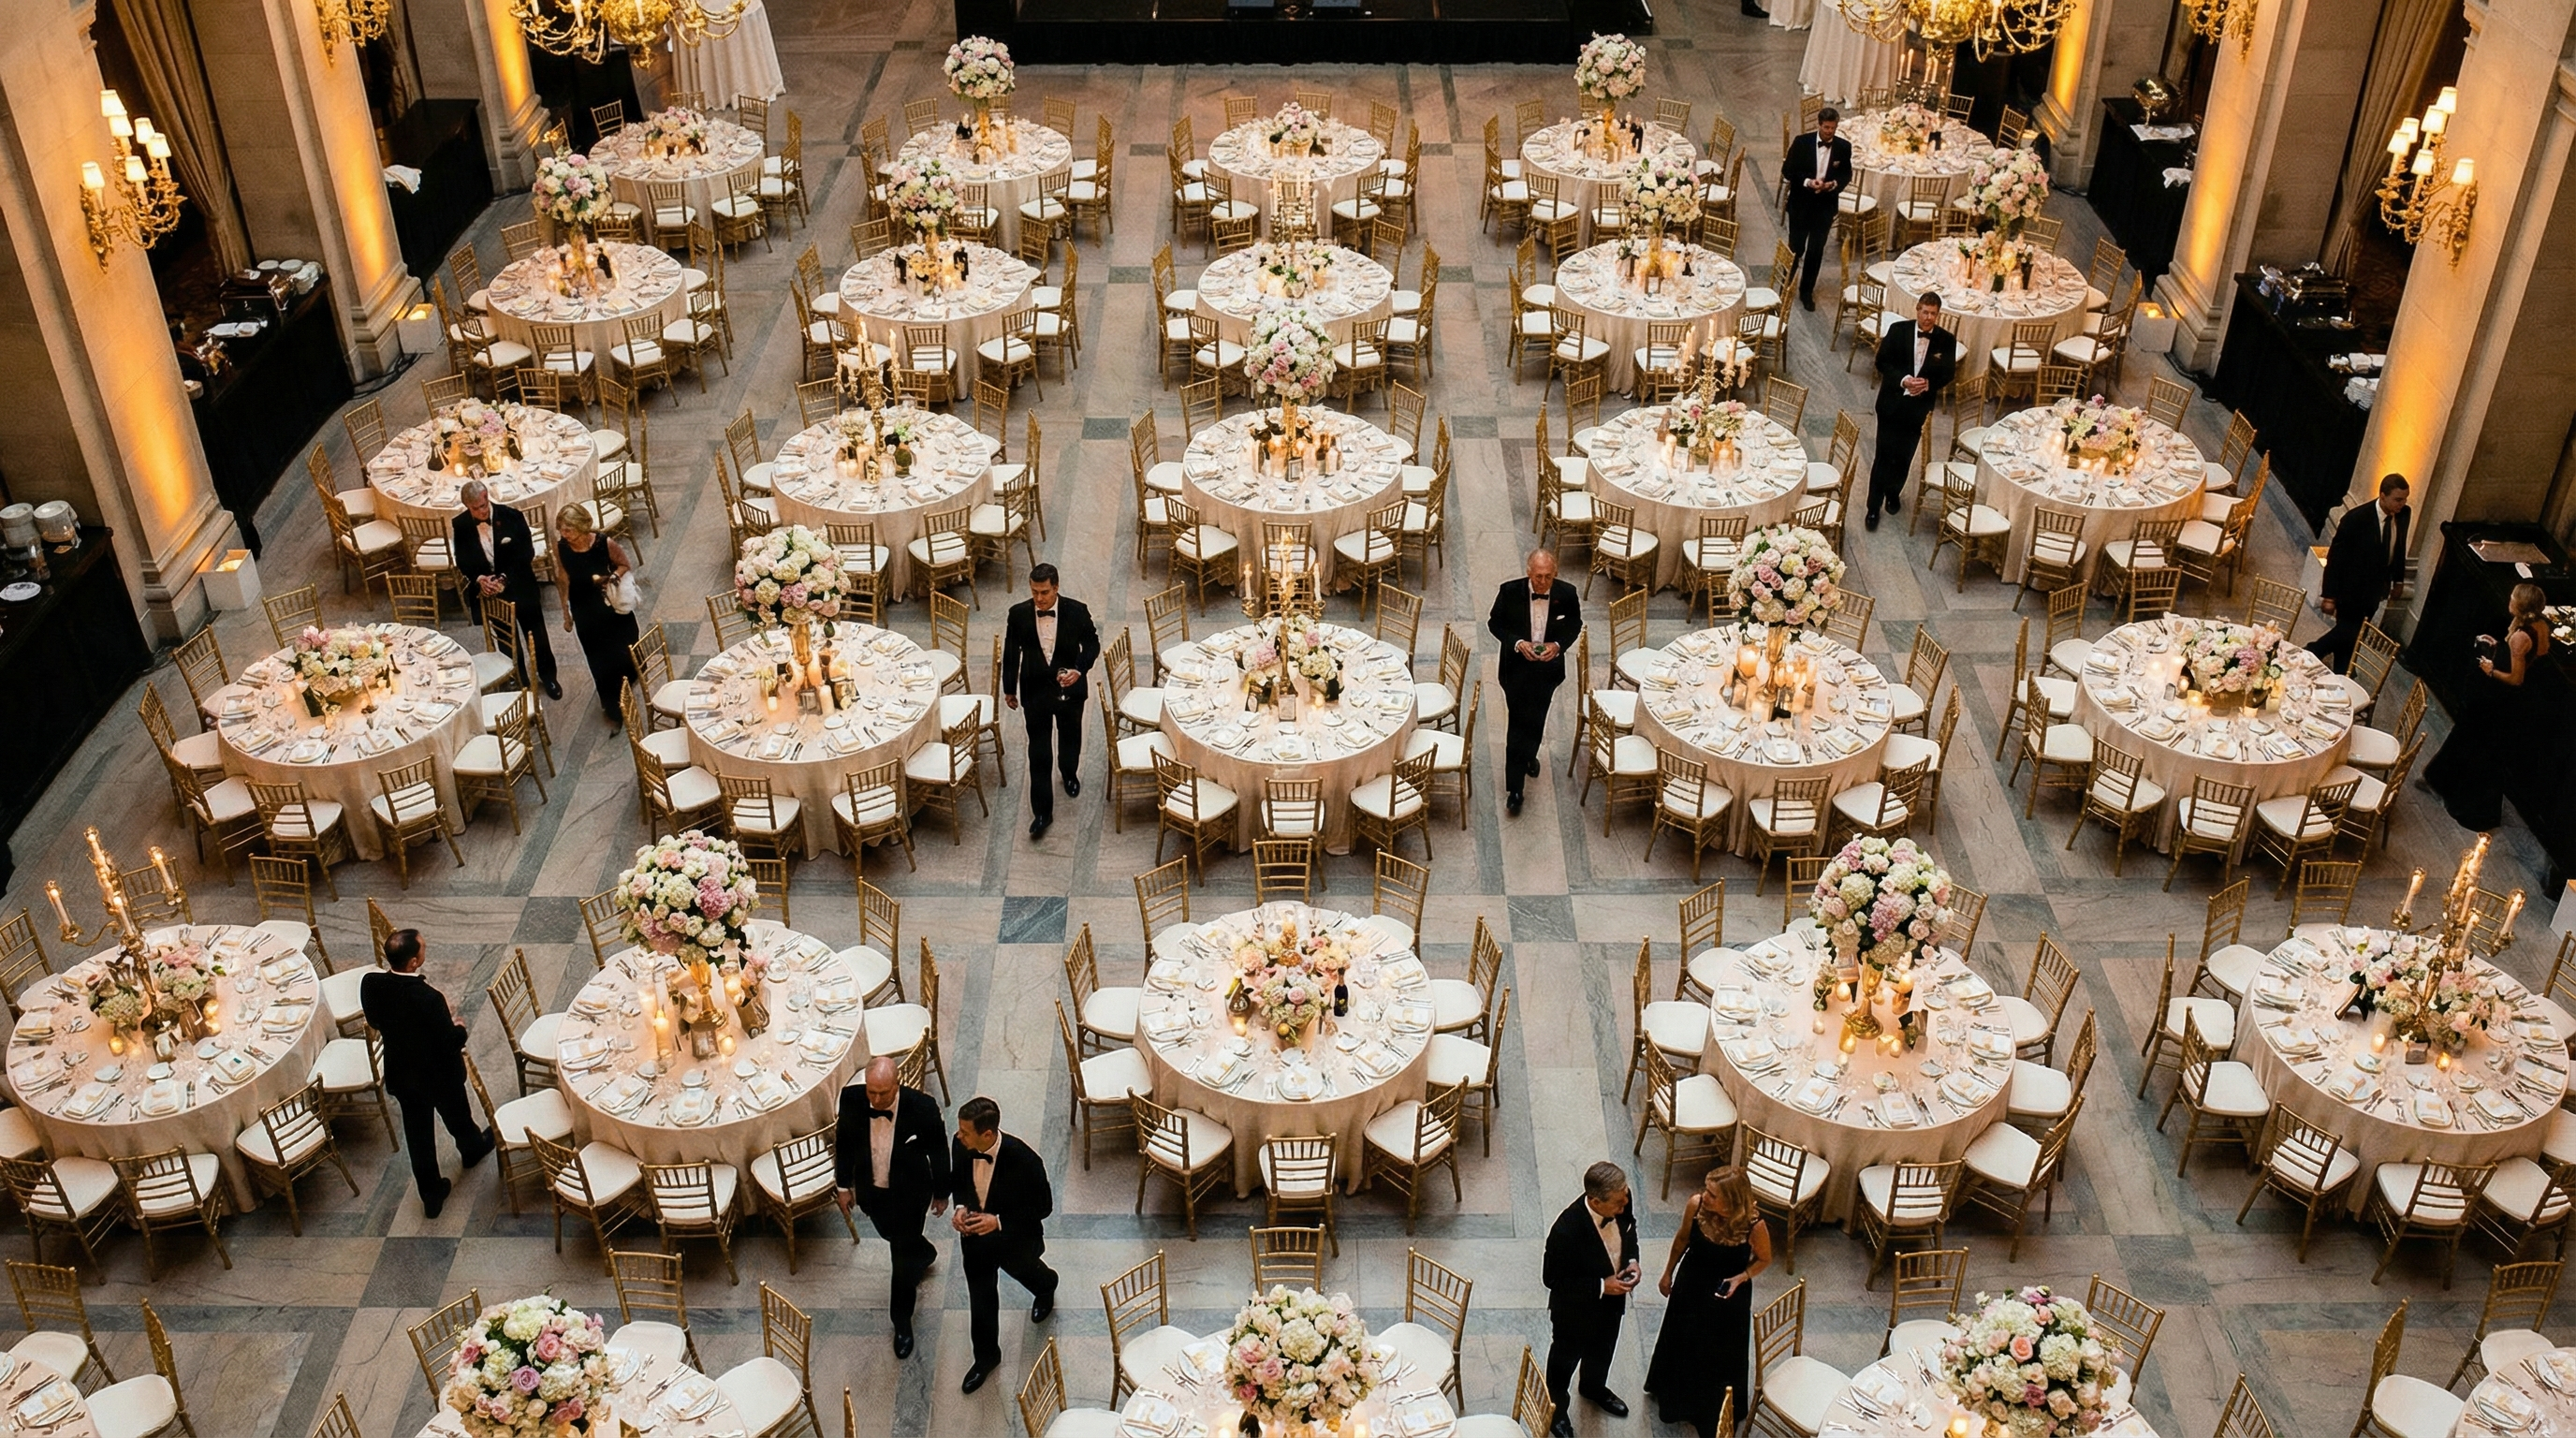
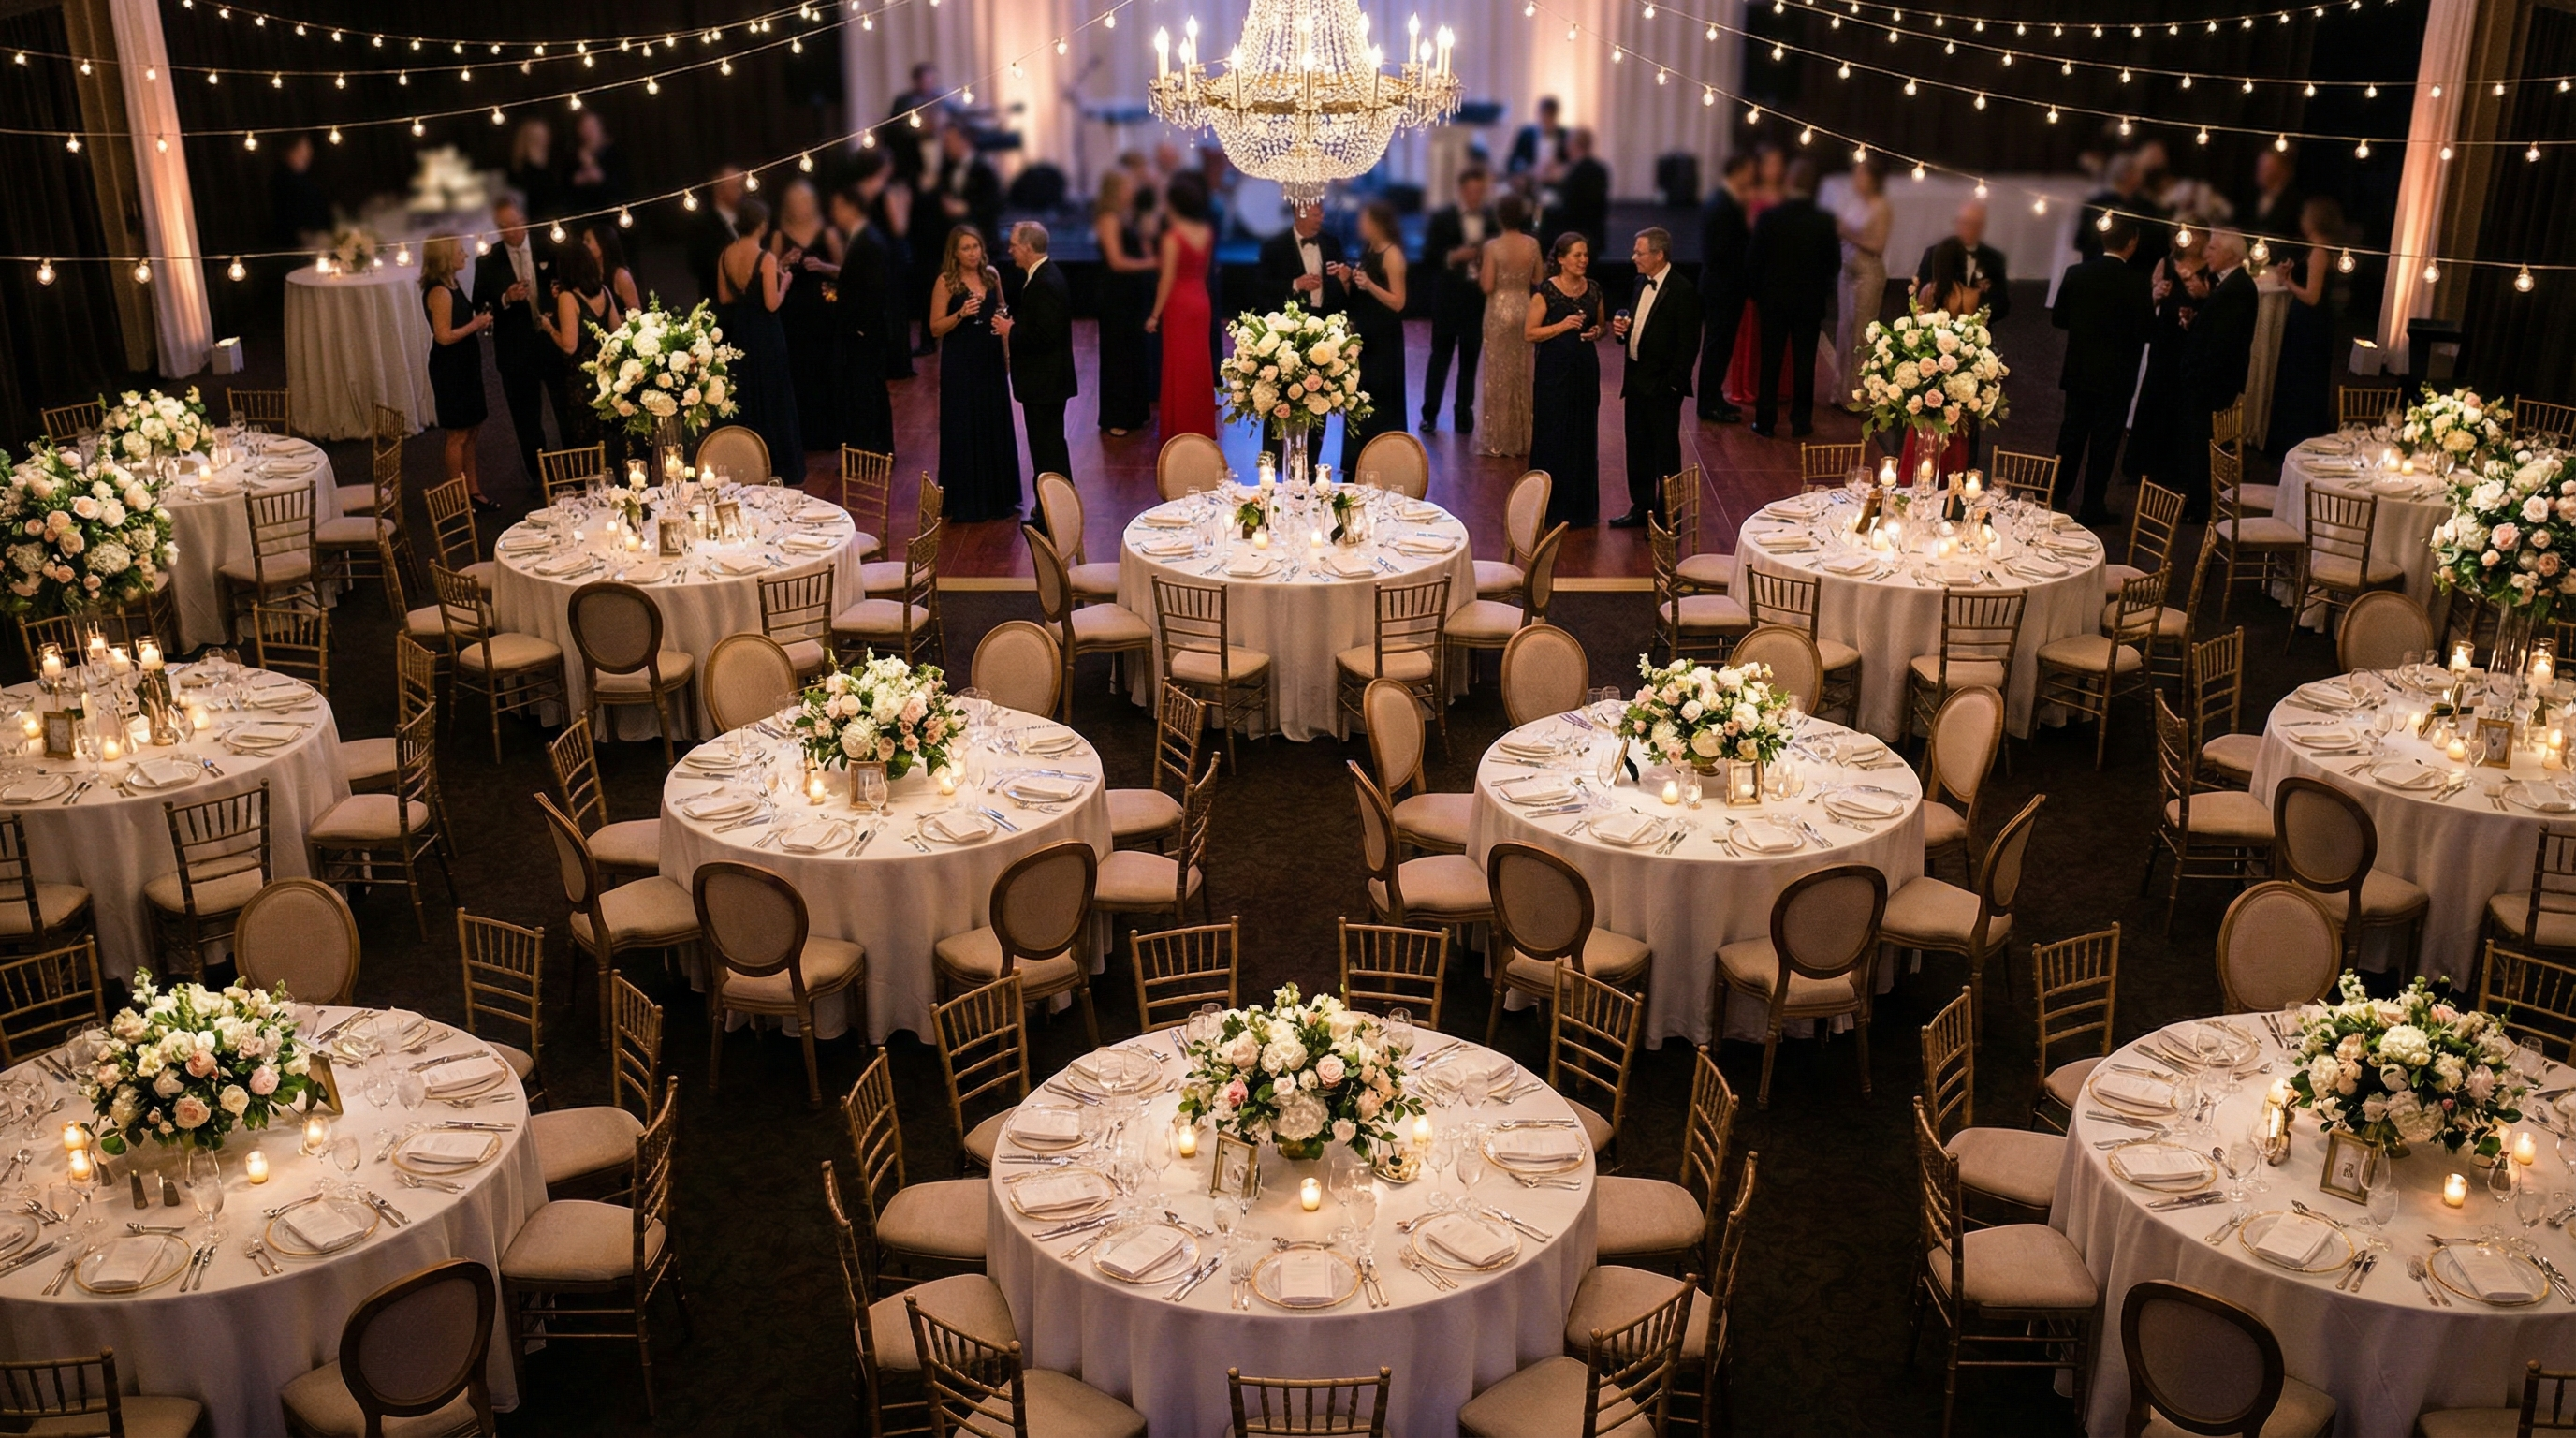
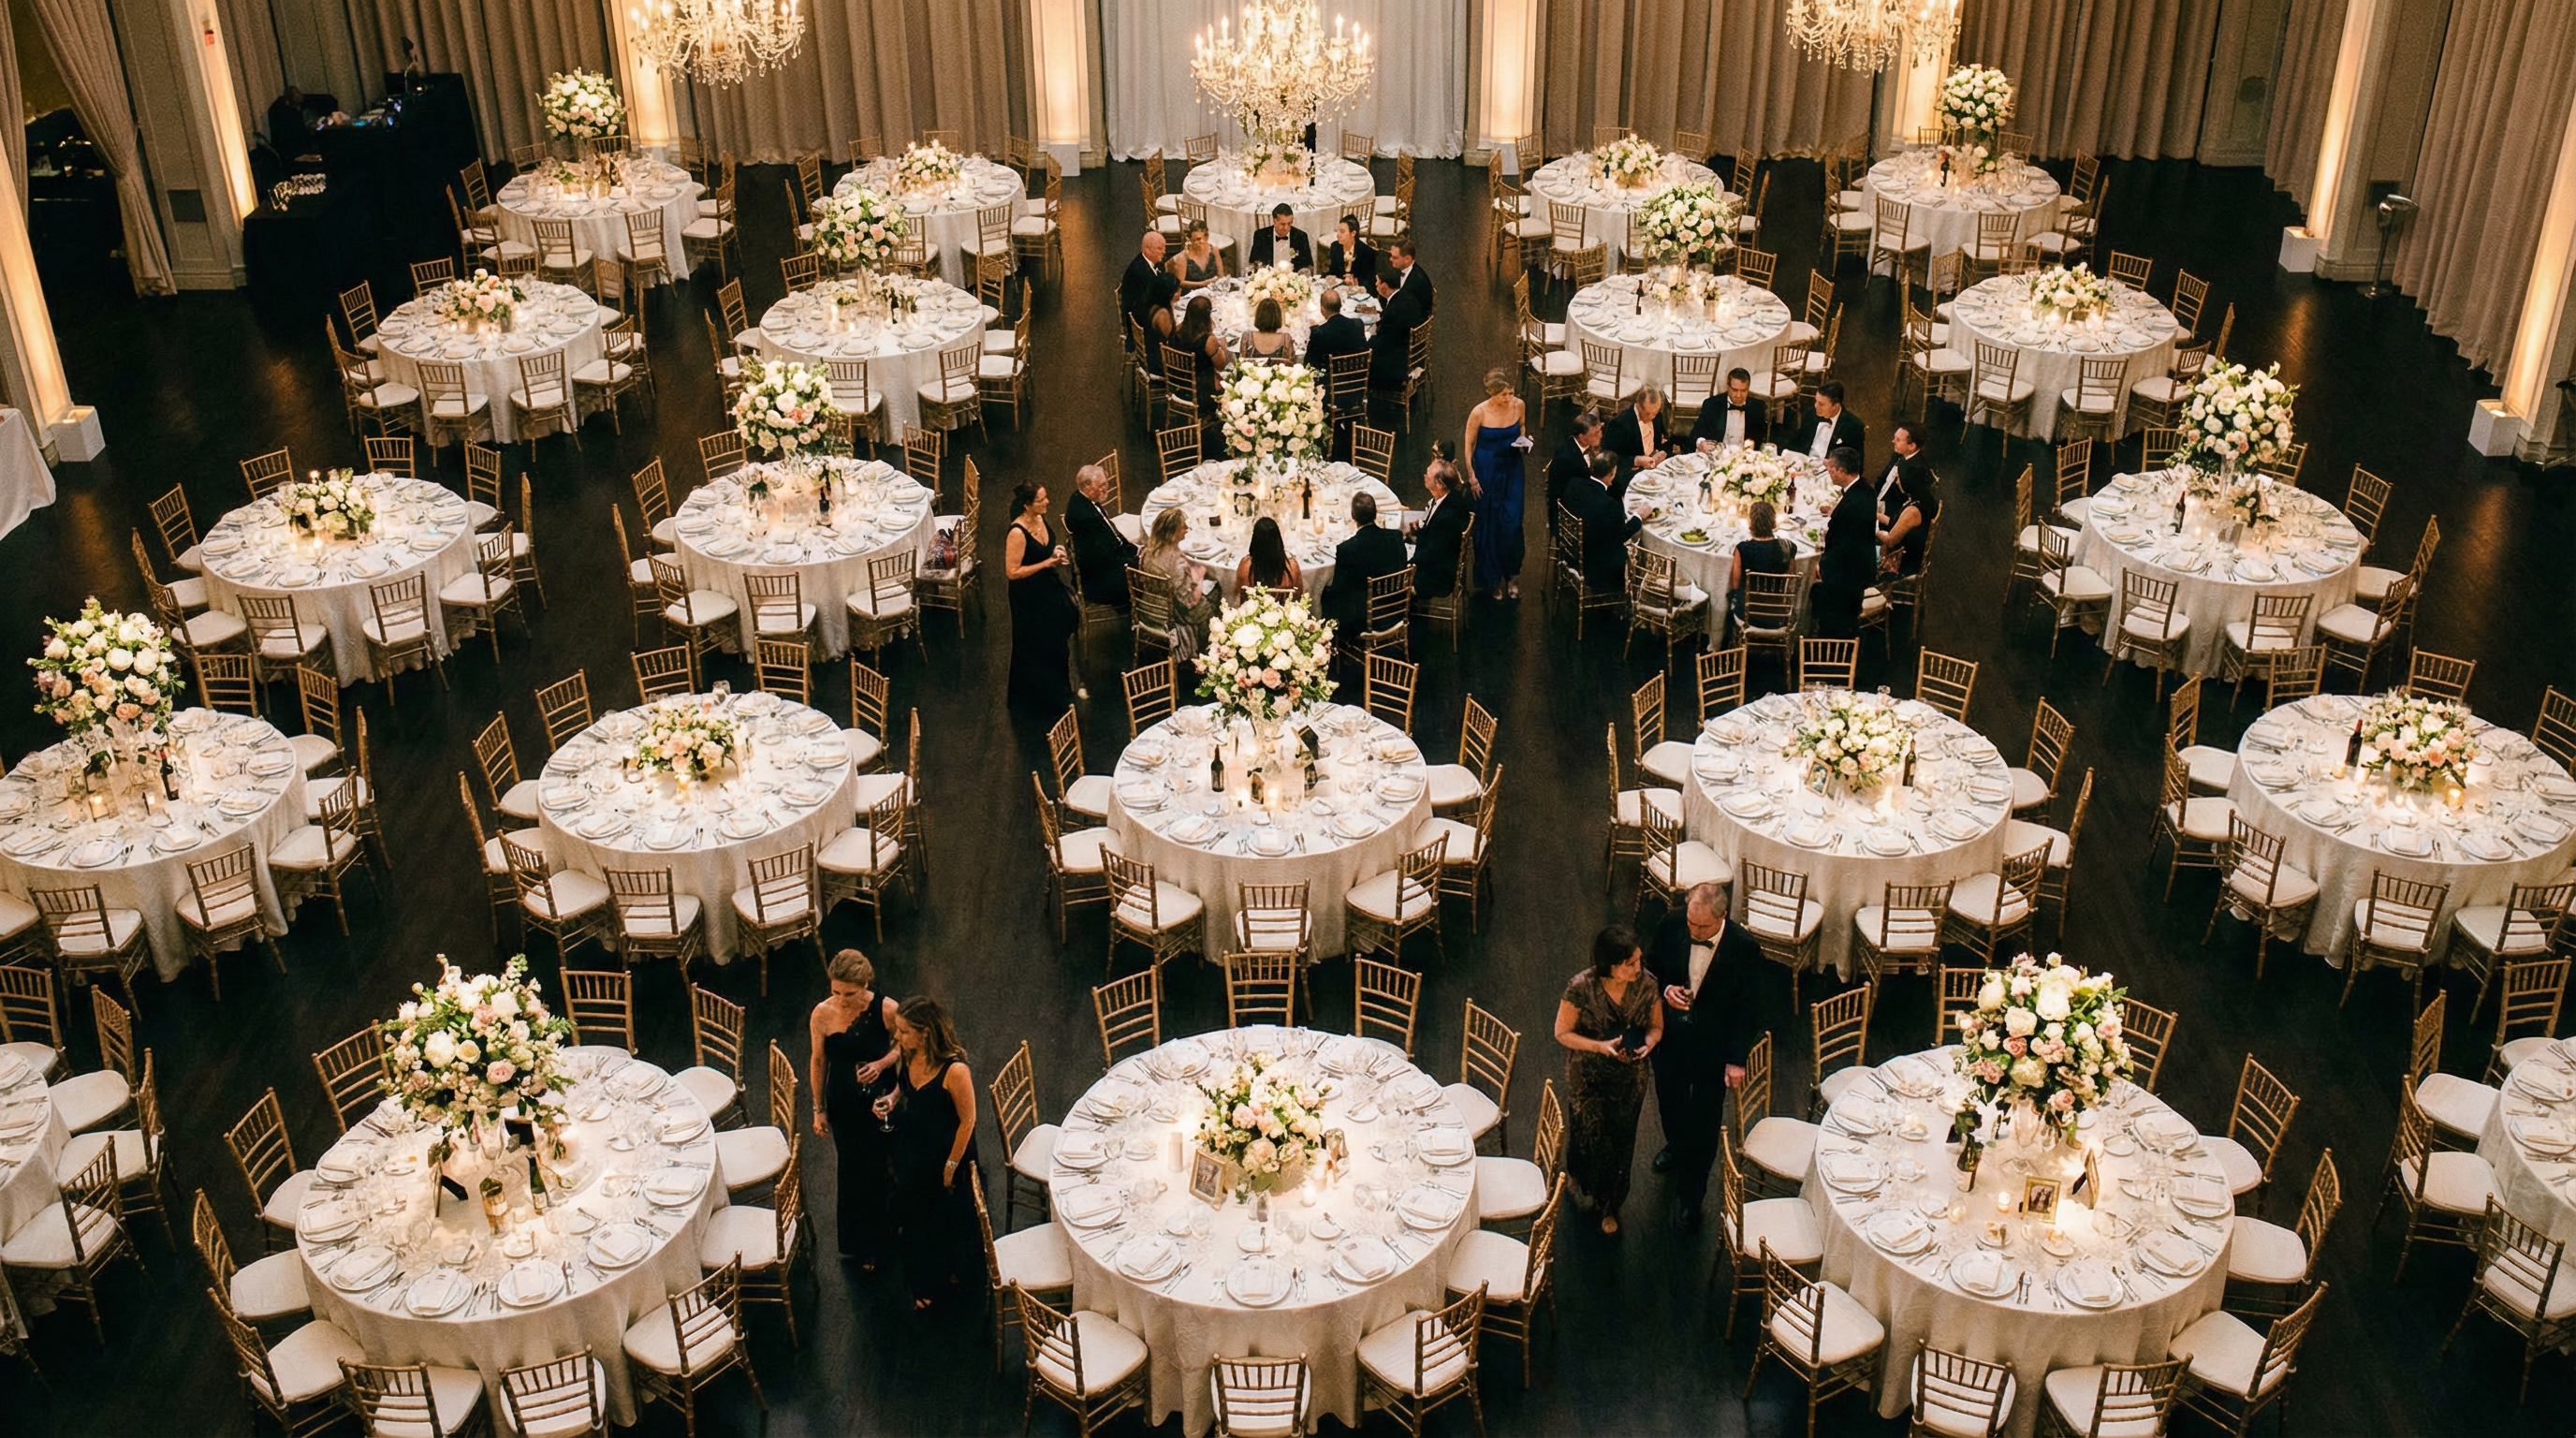
- 10Banquet Style: Round tables with chairs. Suitable for formal events and meals.
- 11Café Style: Small tables with chairs, like a coffee shop. Encourages informal discussions and collaboration.
- 12Living Room Style: Comfortable seating like sofas and armchairs. Creates a relaxed and informal atmosphere.
- 13Standing Room Only: No seating. Encourages movement and high energy.
- 14Circle of Chairs: Chairs arranged in a circle. Fosters equal participation and open discussion.
- 15Fishbowl: A small group in the center discusses while others observe. Facilitates learning through observation.
- 16World Café: Multiple tables with different topics. Participants rotate and contribute to each topic.
- 17Open Space Technology: No pre-set agenda. Participants create the agenda and lead discussions.
- 18Appreciative Inquiry: Focuses on strengths and positive outcomes. Room setup should be collaborative and inspiring.
- 19Design Thinking: Emphasizes creativity and problem-solving. Setup should encourage collaboration and experimentation.
- 20Agile Workspace: Flexible and adaptable space. Allows for quick changes and collaboration.
- 21Hybrid Setup: Combines in-person and virtual participants. Requires careful attention to technology and communication.
- 22Themed Setup: Decorate the room to match the workshop theme. Enhances engagement and immersion.
- 23Outdoor Setup: Conduct the workshop outdoors. Provides a refreshing and inspiring environment.
- 24Mobile Setup: Participants move around the room to different stations. Encourages active learning and engagement.
- 25Technology-Focused Setup: Ample power outlets and reliable Wi-Fi. Essential for workshops involving technology.
- 26Quiet Zone: A designated area for quiet reflection and individual work. Provides a space for introverted participants.
- 27Recharge Station: A space with snacks, drinks, and comfortable seating. Allows participants to relax and recharge.
Step-by-Step: Planning Your Workshop Room Layout
Now, let's break down the process of planning your workshop room setup. Follow these steps to create a space that supports your workshop objectives:
Before You Start
- Define your workshop objectives.
- Determine the number of participants.
- Assess the available space.
Choose Your Layout
Select a layout that aligns with your workshop objectives and participant count. Consider the level of interaction you want to encourage.
Map Out the Space
Use EventFloorPlanner.com to create a visual representation of your room layout. Experiment with different arrangements to optimize the space.
Consider Sightlines
Ensure that all participants have a clear view of the presenter and any visual aids. Adjust seating arrangements as needed.
Plan for Traffic Flow
Design the layout to allow for easy movement and access to resources. Avoid creating bottlenecks or cramped areas.
Incorporate Technology
Plan for power outlets, Wi-Fi, and AV equipment. Ensure that all technology is easily accessible and functional.
Add Comfort Elements
Provide comfortable seating, adequate lighting, and temperature control. Create a welcoming and inviting environment.
Optimizing Lighting and Acoustics
Don't overlook the importance of lighting and acoustics in your workshop room setup. Poor lighting can cause eye strain and fatigue, while poor acoustics can make it difficult to hear and understand the presenter. Aim for natural light whenever possible, supplemented by adjustable artificial lighting. Consider using dimmers to create a softer, more inviting atmosphere.
Acoustics are equally important. If the room has hard surfaces, consider adding soft materials like carpets, curtains, or acoustic panels to absorb sound and reduce echo. This will improve the clarity of speech and make it easier for participants to focus. Invest the time to optimize these elements, and you'll create a more comfortable and conducive learning environment.
The Role of Color and Décor
Color and décor can significantly impact the mood and energy of your workshop space. Choose colors that are conducive to learning and creativity. Blues and greens are often associated with calmness and focus, while yellows and oranges can stimulate energy and enthusiasm. Avoid overly bright or distracting colors that can overwhelm participants.
Incorporate décor that aligns with your workshop theme or objectives. Plants can add a touch of nature and create a more welcoming environment. Art or inspirational quotes can stimulate creativity and motivation. Avoid clutter and keep the décor simple and functional. Remember, the goal is to enhance the learning experience, not distract from it.
Workshop Room Setup Examples: Real-World Scenarios
Let's look at some real-world scenarios and how different workshop room setup strategies can be applied:
Scenario 1: Team-Building Workshop
For a team-building workshop, a combination of breakout groups and a circle of chairs can be highly effective. Breakout groups allow for smaller group activities and discussions, while the circle of chairs fosters equal participation and open communication during larger group sessions.
Scenario 2: Technical Training Session
A classroom-style setup with ample power outlets and reliable Wi-Fi is essential for a technical training session. Ensure that each participant has access to a computer and can easily follow along with the presenter. Consider adding a demonstration station for hands-on learning.
Scenario 3: Creative Brainstorming Session
For a creative brainstorming session, a café-style or living room-style setup can encourage informal discussions and collaboration. Provide plenty of whiteboards or flip charts for capturing ideas. Create a relaxed and inspiring atmosphere that fosters creativity.
Common Workshop Room Setup Mistakes to Avoid
Avoid these common workshop room setup mistakes to ensure a successful event:
Other common mistakes include overcrowding the room, neglecting technology needs, and failing to provide adequate breaks. Planning is key to avoiding these pitfalls. Take the time to carefully consider your workshop objectives, participant needs, and available resources.
Expert Tips for a Successful Workshop Room Setup
Here are some expert tips to elevate your workshop room setup:
Don't be afraid to experiment with different layouts and approaches. The best workshop room setup is one that meets the specific needs of your participants and supports your workshop objectives. Use EventFloorPlanner.com's free templates to get started!
Frequently Asked Questions
Written by
Event Floor Planner Team
Helping event planners create stunning floor plans and seating charts for weddings, corporate events, and special celebrations.
Stay in the Loop
Get expert event planning tips, layout ideas, and exclusive guides delivered weekly.
No spam. Unsubscribe anytime.
Related Articles
The Complete School Open House Layout Planning Guide (2026)
The Complete School Open House Layout Planning Guide (2026) A school open house is a crucial event. It's your chance to showcase your school's environment, culture, and educational opportunities t...
How to Nail Your Fantasy Draft Party Setup Every Time
How to Nail Your Fantasy Draft Party Setup Every Time Fantasy football draft season is more than just picking players; it's a sacred ritual. It's a time for smack talk, friendly competition, and t...
13 Benefit Concert Floor Plan Tips Your Guests Will Love
13 Benefit Concert Floor Plan Tips Your Guests Will Love Planning a benefit concert is no easy feat. You're juggling logistics, entertainment, and, most importantly, fundraising for a cause close...